Here are photos of the grow bucket project with a few details. Feel free to ask any questions.
 |
| 5 gallon bucket, made in the USA |
 |
| I made two cuts in the lid. first one was 3/4 inch from the end. second one in the center. |
 |
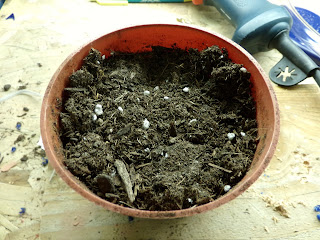
| I started with a clay pot. see next picture. |
 |
| I abandoned the clay pot and decide to use a plastic pot. |
 |
| plastic pot for wicking process. (see coming photos) |
 |
| I drilled more holes for the wicking process. |
 |
| This is the cut out of the lid to the 5 gallon bucket. The plastic pot is now in the center. The next photo will show that this is placed in the bottom of the bucket. |
 |
| This is now in the bottom of the bucket. Eventually I filled the pot and bucket with soil. leaving the bottom 6 inches empty for water to sit in and wick up to through the soil to the plant. |
 |
| I cut a a piece of tubing and secured it to the side of the bucket to fill with water. |
 |
| the pot in the bottom sits on the bottom of the bucket. I also cut holes in the lid cutout for more wicking. |
 |
| full of soil. |
 |
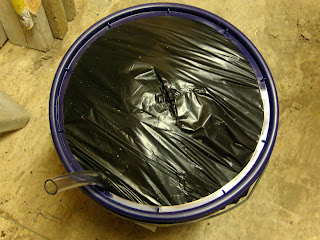
| plastic bag for weed control and heat. |
 |
| I placed the lid ring on the bucket to hold the plastic bag in place |
 |
| I then trimmed the plastic bag and cut an X in the plastic bag to place the tomato plant into the bucket. |
 |
| finished and ready for water |
 |
| I did realize that I needed to drill a small overflow hole at the soil line between the soil and water. I needed to do this so I don't over fill the bucket. |
 |
| Here is the overflow hole. |
 |
| I have the bucket on this roller to move the bucket in and out of the garage during the frosty nights and warm sunny days. |

